Easy DIY No Sew Rice Heating Pad
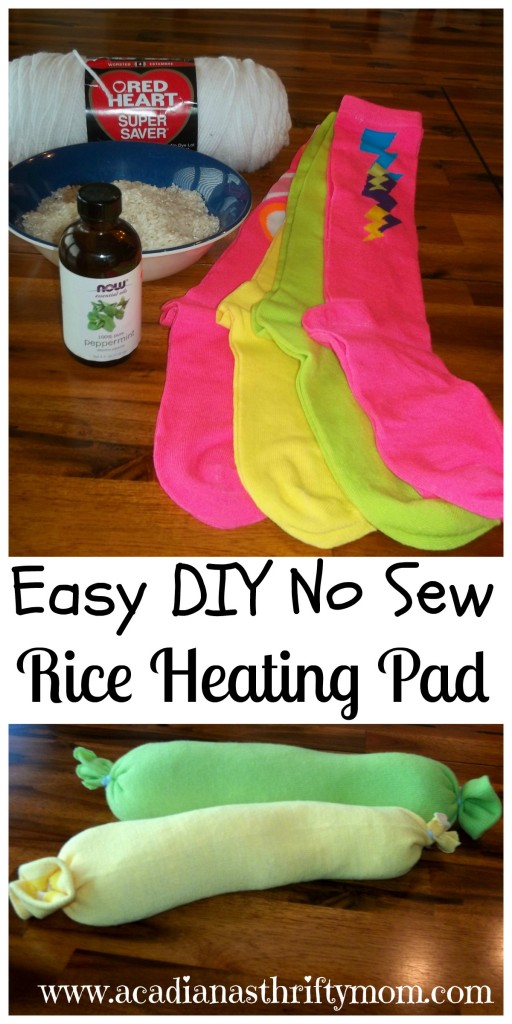
Easy DIY No Sew Rice Heating Pad. Do you ever need a heating pad or ice pack, but don’t have something on hand? It happens to us a lot with sports and everything else we have going on. This Easy DIY no sew rice heating pad is the perfect solution when you’re in a pinch!
Gather your supplies:
- Knee socks (any brand or color)
- 4 cups rice
- 10 drops, more or less, of your favorite essential oil
- Funnel
- Yarn or twine
First I added my rice and essential oil to a gallon freezer bag and shook it to distribute the oil to all of the rice. Next, I cut the “foot” off of the socks and tied up the cut end with my yarn. I wrapped it around about 6-7 times and tied a small knot each time around. This will keep it from coming untied and spilling rice all over your floor. It is not necessary to cut to the “foot” out of the sock if you don’t mind it looking like a sock. I have a couple of others that I didn’t cut and they are longer and great for necks.
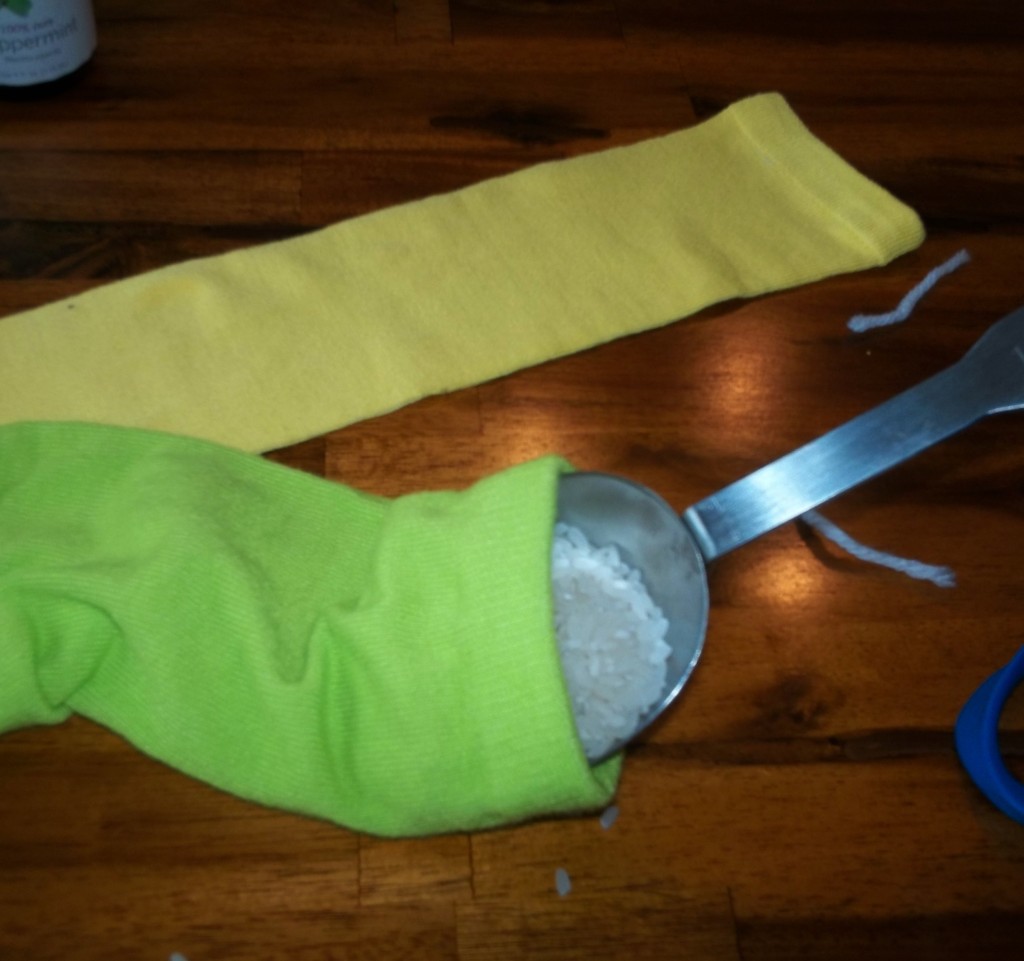
After you have secured one end of the sock, you will add 2 cups of rice to each sock. This can be a little tough so I always set my sock inside a large bowl to catch any spillage. Once your sock is full, simply secure the other open end of the sock with another piece of yarn or twine and wrap it around the way you did the first one. VOILA! You’re done, now wasn’t that easy peasy lemon squeezy?!
How To Use Your Homemade Rice Heating Pad
Now, to use your heating/cooling rice pad. For a heating pad, simply put the sock ‘pad’ in the microwave with 1 cup of water beside it and heat for 1-2 minutes. You add the cup of water to keep the rice from burning or scorching. The water will also give the rice a moist heat, which is great for sore muscles. We keep our second ‘pad’ in the freezer and it is perfect for an ice pack! It doesn’t get too cold or ‘burn’ with ice.
We used peppermint essential oil and rosemary essential oil in the pads we made for this tutorial. You can use any type of essential oil you choose. Lavender and chamomile essential oils are also great for these! You can also leave the oil out if you like or add it directly to the ‘pad’ with each use. These ‘pads’ hold up great too! My kids love to play with them and, as of yet, we haven’t had one bust. ALWAYS be sure to test the temperature of the heating pad after it is removed from the microwave to keep from burning the area where it is being used.
These are perfect in a pinch or just to keep around the house. It takes less than 5 minutes to assemble and your family will think you’re a genius! LOL
If you liked this then be sure to check out 5 Back To School Hacks That Will Save Your Sanity!


Thank you we were just talking about this at work for sensory needs.
We can also use them for infants for weighted blankets.. 🙂
My daughter uses one of these all the time. So quick and easy.
This was pure genius. I am so grateful that I stumbled upon this. I have been searching for a rice heating pad because I don’t like the electric ones since I got burned by one, and unfortunately could not find them in store and eBay and Amazon were selling them for $20- $50! Since I didn’t have that much pocket money I was able to make my own with your tutorial for less than $5!!! I was so happy and it got rid of my female pains. I am truly thankful. I also shared this tutorial on my Facebook so all my other friends can see it and make use of it as well. Truly a genius idea! Thanks again
I’m so happy you like it 🙂 We have gotten a ton of use out of these!
Does the oil not make the rice swell up
No, not at all 🙂
Can you do this with your kids favorite stuffie?
I don’t think I would, just because you don’t know how the material may hold up in the microwave and freezer.
Does the “moist heat” make the rice swell up?
I don’t put them in the microwave long enough for them to need any moisture.