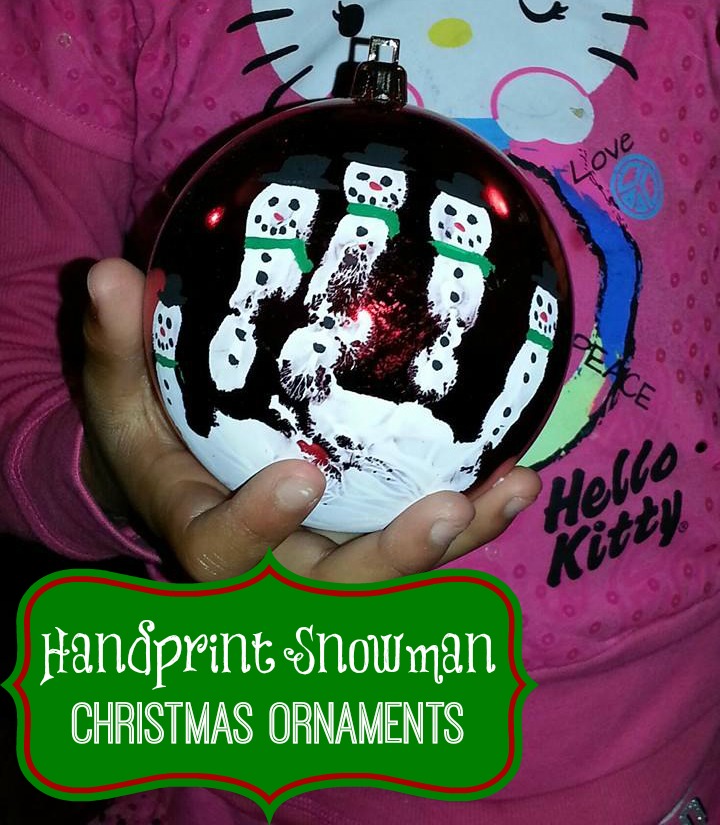
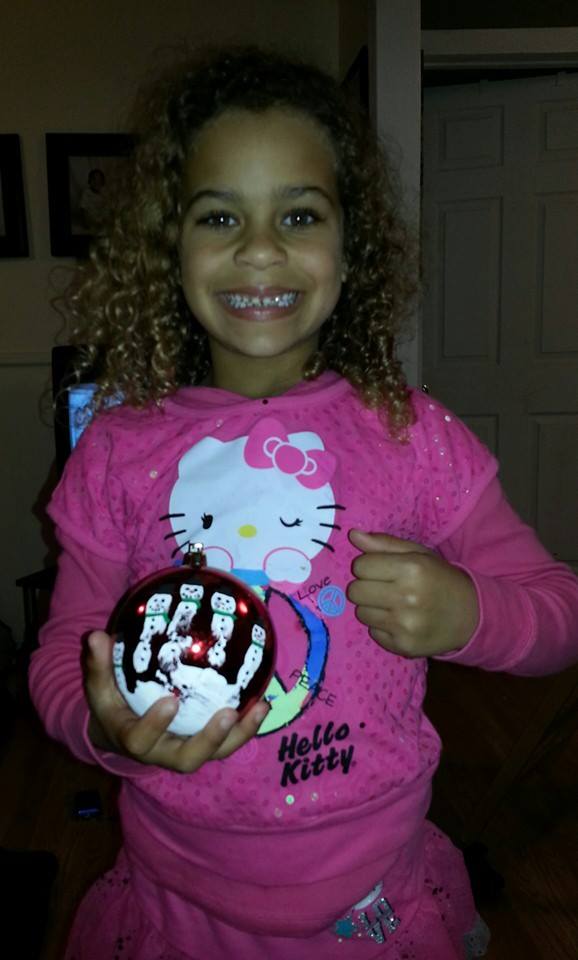
Handprint Snowman Christmas Ornaments
Gather your supplies:
- Plain ornaments (I used red, plastic)
- White acrylic craft paint (I used Tempra paint because we did this as a craft with many children, but acrylic lasts much longer)
- Paint brush
- Black and orange acrylic paint
- Towel for drying ornaments
Get to work:
- You can use plastic or glass ornaments. Paint sticks better on glass, but I love plastic for durability.
- Paint your child’s hand with white paint of choice.
- Carefully, set the ornament in your child’s hand and have them gently hold the ornament with all their fingers. Make sure they do not squeeze the ornament. Once the paint is on the ornament, have them release their hand and lift the ornament straight out.
- Once the paint is dry, use the black, orange/red and green paint to add the snowman details – eyes, carrot nose, buttons, hat and scarf.
- If you use a clear ornament, you can add a little fake snow inside the ornament. Get a pack of fine “snow” at the craft store and use a funnel to add some snow inside the ornament. This does tend to get a little messy, but it is SUPER cute!
- Be sure to put the child’s name and the year on the bottom of the ornament. These are very cute, easy-to-make gifts for the kids to give!


oh these are too cute!!
I would love for you to share this with my Facebook Group for recipes, crafts, tips, and tricks: https://www.facebook.com/groups/pluckyrecipescraftstips/
Thanks for joining Cooking and Crafting with J & J!
I’ll be doing these today! Thanks for sharing!