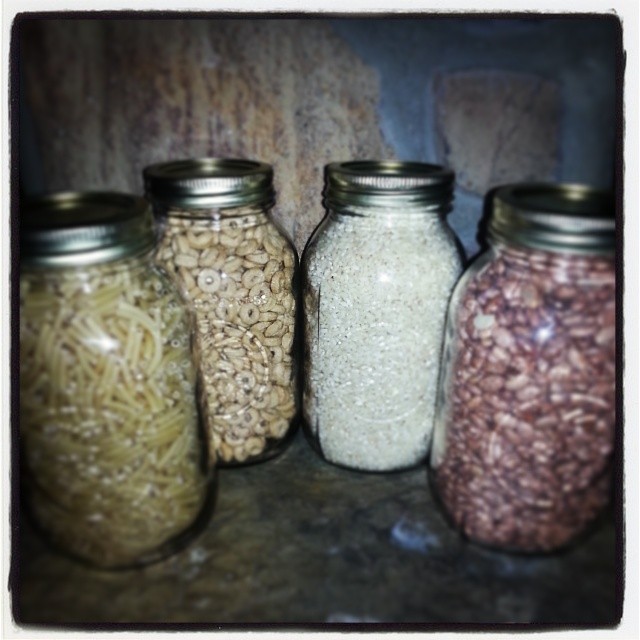
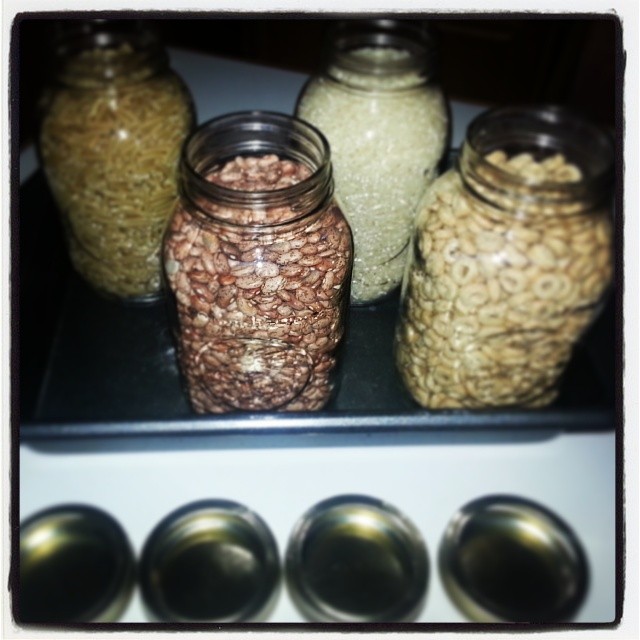
I love oven canning! It is also known as “dry canning“. This method is PERFECT for south Louisiana where the humidity is high and vermin are plentiful LOL We live out in the country, so getting rid of mice is just not a reality for us. No matter how many traps we set or how many cats we own; the mice still come in and they are HEALTHY! Not only can they chew through paper and cardboard, but we’ve even had them chew through plastic containers! Oven canning is awesome for us. We use the half gallon mason jars for rice and cereal and the pint jars for pastas and beans.
Some people say that it’s not safe to dry can and there are two reasons for this. The first reason is because “they” say that Mason jars were not made to withstand this kind of “dry” heat. Well, I don’t know about you, but it gets over 200 degrees in my car in the summertime down here. I have baked in mason jars at 400 degree heat for years and never had a problem. Just to be on the safe side; be sure to wear safety goggles and use long oven mitts when handling the hot jars. The other safety risk “they” say comes with dry canning is the risk of botulism from storing food. Well, if you read up on botulism; you will see that the one thing it needs to grow is moisture and we are talking about strictly DRY canning.
I started dry canning a few years ago when I noticed the humidity was really getting to my foods and have been hooked since! One AMAZING thing about dry canning is that you can reuse your lids. The reason is because you are using dry heat! So, yes, reuse those lids as long as they are still intact. Of course, if the rubber is cracked or peeling you’ll need to replace your lids.
- Preheat oven to 200 degrees Fahrenheit
- Fill your clean canning jars with dried goods (leave 1/2″ at the top)
- Do not put lids on yet
- Place in oven and set timer for 1 – 1 1/2 hours (I leave mine for 1 1/2 hours)
- Use pot holders or towel to remove jars from oven
- Quickly wipe rim of jar with damp (not dripping wet) towel
- Place one metal canning lid on each jar and screw the band on tightly
- Listen for the “pop” that lets you know the lid is sealed.
- Be sure to ALWAYS date your oven canned foods.
Items you can dry can:
- White Rice
- Dry beans
- Oatmeal
- White flour
- Sugar
- Dry grain cereals such as rice crispies and Cheerios
- Dry fruits and veggies
Items NOT to dry can:
- Nuts
- Seeds
- Barley
- Anything with a high oil content as these foods tend to turn rancid
- Anything with a high moisture content
I will keep my foods up to 6 months after the date I canned them. I have seen and heard of people using them for years after dry canning them. I would not recommend this, but that is completely up to you. You can read more about what the CDC says about oven canning HERE.
This is definitely worth checking into and probably trying soon. Thanks! Sharing with my friends also.
this is probably a stupid question but why would you want to cook your dry goods before canning them? I mean, couldn’t you just cook them when you were ready to eat them? Is it a convenience thing? I can understand fruit and veggies because of the limited shelf life but dry goods stay fresh for quite some time. Just curious. I’m obviously a city dweller that has no concept of rural practices. Thanks in advance.
Heating them to 200 degrees kills any eggs of weevils that get in flour and such. Plus you need heat to seal the jars 😀
Great post and video! Next time, we need oven CANDY- I agree with the news lady, LOL
This is really amazing, I never knew you could do this. We have bugs getting into our flour,, pasta, cereals even up here in NH. I was never good at real Canning, but i could definitely do this!
Try it, Pamela! You’ll be glad you did 😀
This is so cool! I’ve never heard of that before. It is a little humid here, not to the point of ruining things, but this is awesome. I want to try it, just to try it! Thanks!!
I’ve never heard of this. I may have to think about doing it.
This is new to me. We do not have a vermin problem but it is interesting. Love the video!
going to try this, thanks!